Before you use your kiln, you’ll need to take steps to make sure it’s ready for firing glass.
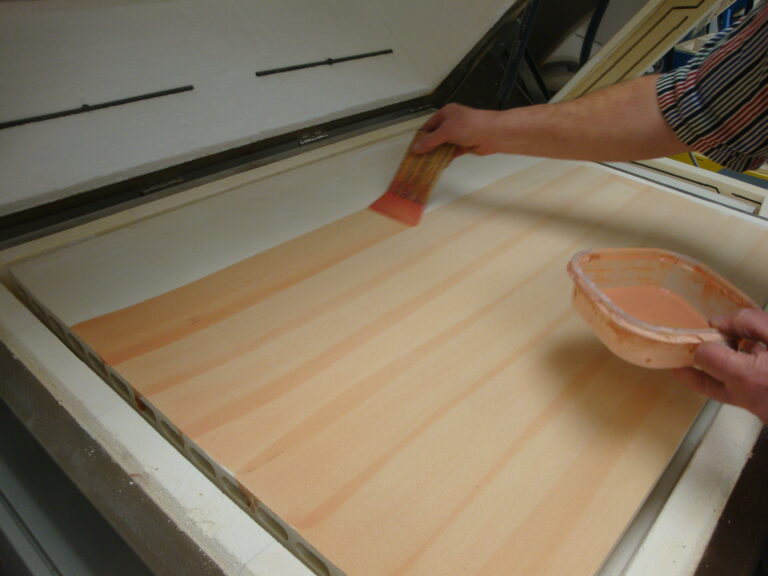
Using Bullseye Shelf Primer to kiln wash the kiln shelf prior to firing. The pink color, which makes it easier to know where it's been used, burns off during the initial firing.
Before you fuse glass in a kiln, you have to take steps to make certain that the glass doesn’t stick to the kiln shelf.
There are two main ways to accomplish this. One is to use a product called “kiln wash” (sometimes also called “shelf primer”) to coat the shelf before firing. The other is to use a special kind of paper (call “thinfire shelf paper”) as a barrier between the glass and the shelf.
Let’s discuss kiln wash first. It comes in a powder form that is mixed with water and then applied to the shelf using a brush or a sprayer.
Most kiln washes are mixed with four or five parts water to one part of the powder. Just mix in a small container, then apply. You can use a foam paint brush or a special kind of brush called a haike brush to do the job.
Make sure you shake the kiln wash mixture before using, as it settles very quickly. You should also stir the mixture several times while applying to keep all of the particles from settling to the bottom.
Continue applying kiln wash until you have applied five coats, each in a different direction.
To brush on the kiln wash, first dip the brush into the mixture until it is fully saturated. Glide it over the item you want to coat, usually a kiln shelf or the floor of the kiln. Glide in one direction, allowing only the tip of the brush to touch the surface. Don’t drag the brush or draw it back and forth as though you were painting. Apply a thin coat, rather than a thick one.
You should apply around five coats, each in a different compass direction (side to side, top to bottom, then in each of the two diagonal directions, then finally side to side again). It’s not necessary to dry the kiln wash between coats, but it should be dry before using in the kiln. This can be done by air drying, by placing on a hot kiln or in the sun, or by heating a kiln to around 300F for five minutes.
Once the kiln wash is dry, inspect the shelf to make sure it is covered with a smooth, even coating. If you want to minimize brush strokes, you can smooth the kiln wash slightly with a soft lint-free cloth or even with your hand.
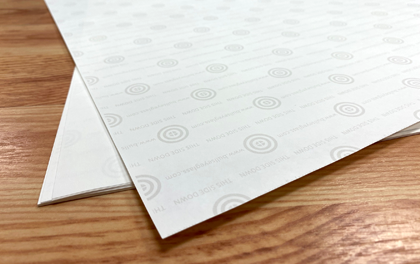
Bullseye thinfire shelf paper is as thin as a sheet of paper and can be easily cut to size as needed.
To use thinfire shelf paper simply cut it to shape and place it on the kiln shelf, between the glass and the shelf. In addition to ease of use, thinfire’s main advantage is that it leaves a smoother finish than kiln wash.
However, it does have some disadvantages. It has a distinctive smell, a bit like something burning, when heated to around 700 to 900F in the kiln. It can curl up and leave a haze on the top surface of the glass. It can cause surface pitting when it comes in contact with iridized glass.
After firing thinfire turns to powder, which means it’s generally good for only one firing. A vacuum with a HEPA filter is recommended for cleaning up after the firing.
Finally, thinfire is much more expensive than kiln wash, which not only costs less initially but can in most cases be used for multiple firings.
Once your shelf is prepared, either with kiln wash or thinfire shelf paper, you’re almost ready to fire. If it’s not there already, place the shelf in the kiln, using kiln posts to raise it at least half an inch off the floor of the kiln. Kiln posts, which are short “legs” that are usually made of the same kind of ceramic material as the shelf, do not need to be kiln washed.
Once the kiln shelf is supported in place, you are ready to begin your warm glass projects.